Onto the Command Line
In Part One, you set up an EC2 instance on the AWS console. You basically set a part of the cloud for yourself.
In your AWS Console, find your EC2 dashboard. You will see the instances that you have created. The console allows you to edit many of the properties you define towards the launch. You can also rename them, which will come in handy when you have several of them.
To connect to your instance from the terminal, you need to create a key. On the left-side menu of the Console, find the “Key Pairs” link under the “Network & Security” section. Create a Key Pair using the big blue button with a name of your choosing. Once you “click” create, the key will download. The key is a file with the PEM extension.

Lots of dark screens ahead. Beware!
Establish a safe connection
The SSH or Secure Shell is a method to establish secure connections between applications through encryption. Your PEM key is what makes your instance to recognize you. Naturally, whoever gets ahold of your key and figures out the address of your instance can do anything with it. So keep your PEM key safe. If you misplace it or fear of unwanted access, you can always delete it and get a new one.
Use your PEM key to log into your console from the terminal. Identify:
- the location of the PEM key in your device (including the .pem extension):
pemkey_location/key.pem - and the Address of your Instance:
ec2-some-random-numbers.server-location-maybe.compute.amazonaws.com
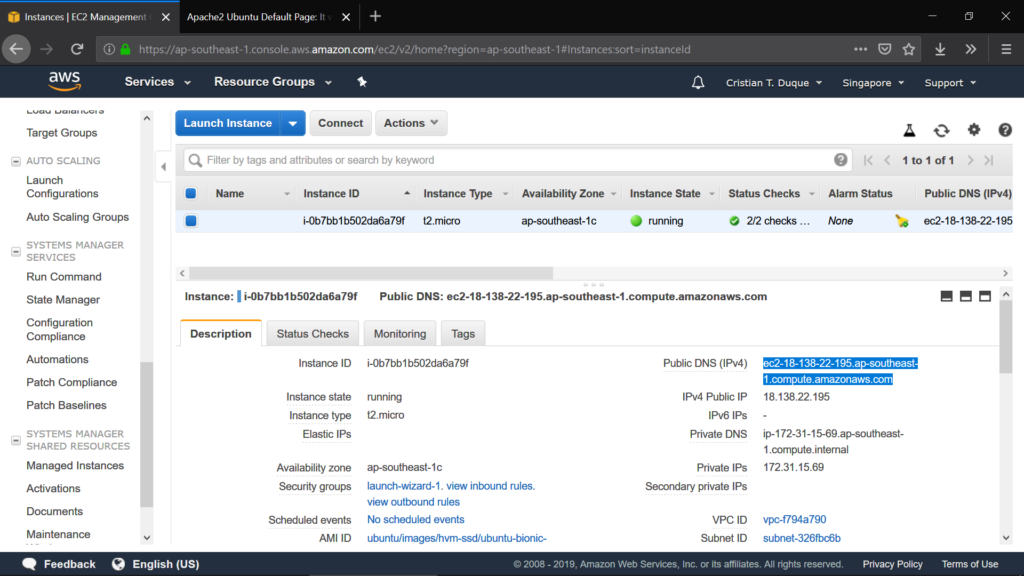
Find the Address of your Instance as the “Public DNS (IPv4)” value in the console. Before you purchase a domain to go with your Moodle site, this will be the location online.
On Linux or Mac, connect typing this on the terminal
ssh -i pemkey_location/key.pem ec2-user@ec2-some-random-numbers.server-location-maybe.compute.amazonaws.comFor more about AWS access via AWS through Linux or Mac, go here.
On Windows
You will need to convert the PEM key so PuTTY can use it. You can do this using PuTTYgen (PuTTY Key Generator), which comes along when you install PutTTy. To convert your PEM key into a PPK file, and instally PuTTYgen if it isn’t already, follow these official instructions.
Open PuTTy and complete the following fields to connect:
- On “Session” (the starting window)
- Host Name (or IP address): The Address of you Instance or Public DNS IPv4 (see above)
- Port: 22
- Connection type: SSH
- Leave other fields unchanged
- On “SSH” → “Auth”
- Private key file for authentication: The location of the PPK you made with PuTTYgen. You can either paste the address of click “Browse” to open your file explorer.
- Leave other fields unchanged
- Leave everything else unchanged
By clicking “Open“, you will open a terminal with access to the Ubuntu environment in your EC2 instance.
Before you do so, it could be a good idea to “save” the session to avoid doing the same set up every time you want to connect. The PuTTY terminal can be a little unstable and laggy, especially if you leave it open without use for an extended period of time, in which case it’s best to shut it down and open it again. Save your session by naming it on the field under “Saved Sessions” any way you want, then click “Save.” The name will appear in the drop-down list next. Next time, all you have to do to connect to your instance is to open PuTTY, click on the name of the session, hit “Load” and “Open.”
Terminal adventures
Throught the Terminal or Command Line Interface you can perform many starting processes and operations. Believe it or not, the CLI is a much more powerful interface than a GUI. Not only you are not limited to the buttons or actions included by the designer, you can access functions and information in a very detailed way. You can build routines and programs that can automate most of the processes, all using only your keyboard. The following steps will only scratch the surface of what you can do on the CLI. They include, in order:
- Install or upgrade Apache HTTP Server
- Install or upgrade PHP. Ubuntu may come with a PHP version already, but it can be out of date.
- Install or upgrade MySQL Server
- Connect everything through “mods” or libraries
Before you delve into it, keep the following commands close to you. They might help you get a better understanding and sense of control in the process, maybe work as basic troubleshooting:
sudo apt-get updatewill update the list of available technologies you can add and install. Do it every time you are about to install a new applicationpwdwill show the current directory in which you are located. Use it if at any point you feel disorientatedcdfollowed by the name of a subdirectory will take you there. cd .. will take you one directory back.cdalone will take you to the starting place (usually/home/ubuntu)lsandls -lwill show you the contents of your current directorysudo apt-get service apache2 restart. After installing the Apache HTTP Server, use this command to restart the server every time you perform a major configuration, upgrade or new installation of applications on top. Not restarting the server after a major change is a common reason why your Moodle does not reflect the changes.
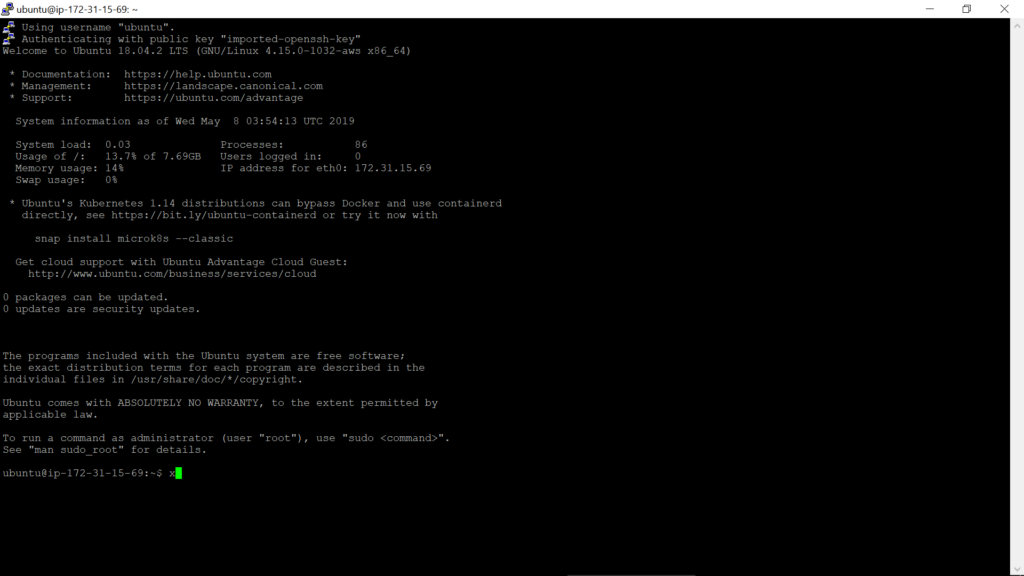
Install Apache HTTP Server
sudo apt-get update
sudo apt-get install apache2
This process will upgrade Apache to the latest available version. If the newer version is already in place, the process will not perform any changes.
Install PHP and the PHP-Apache connecting library
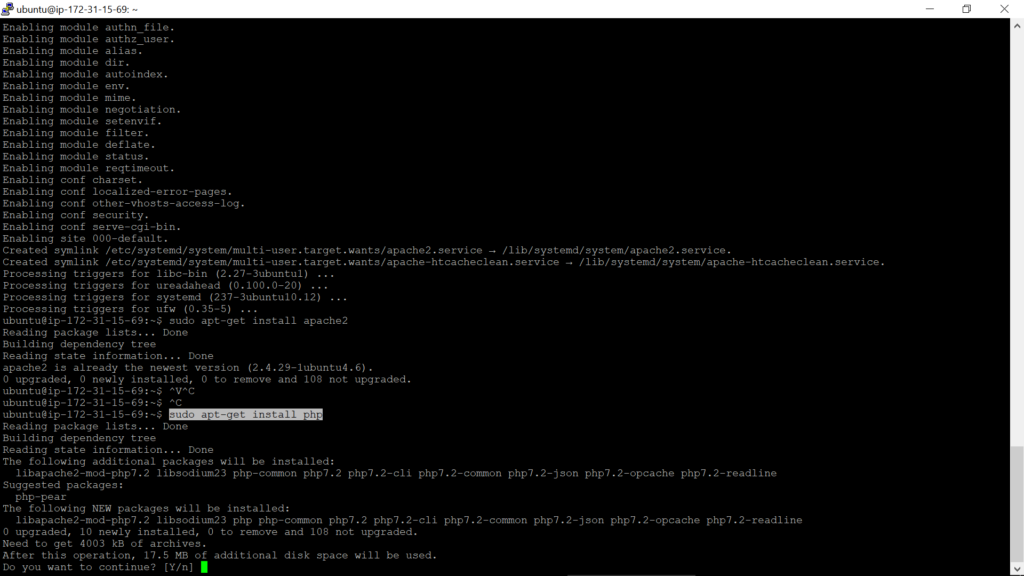
sudo apt-get update
sudo apt-get install php
sudo apt-get install libapache2-mod-php
sudo service apache2 restart
Tip: If you follow this process within a relatively short time frame, feel free to skip the sudo apt-get update command every time.
Install MySQL Server, MySQL-PHP, PHP-XML and a bunch of connectors more
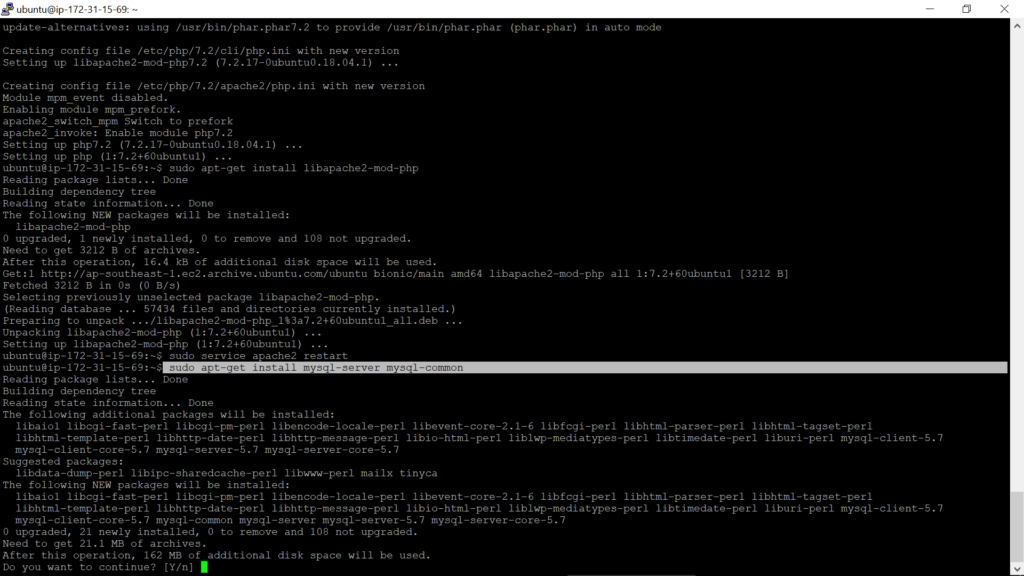
Little trick: Install many things at once by adding them one after the other.
sudo apt-get update
sudo apt-get install mysql-server mysql-common php-mysql php-xml php-curl php-zip php-gd php-intl php-mbstring php-xmlrpc php-soap
sudo service apache2 restart
Coming up
By completing this guide, you will have successfully set up LAMP. It stands for Linux, Apache, MySQL and PHP, and it’s the basis for the vast majority of applications running the Internet today. That includes Moodle (LMS) and WordPress (CMS), leaders on their fields.
In the last part of the series, we will put LAMP to good use by installing Moodle, setting up the database, and launching your own Moodle to its latest version.




One Response
Thank you for your constructive feedback. I am fully aware I am only scratching the surface of what the cloud makes possible. As I indicated here and in the other articles of this 3-part series, this is based on an introductory workshop taught by an AWS partner. Participants, and hopefully readers, will end up this tutorial with a working LMS upon which they should be able to take it into new exciting directions.
If you are interested into making better content happen, message me [email protected]